
A yield test measures the edible portion (EP) you actually get from an as-purchased (AP) ingredient, so you can calculate true food cost rather than guess at it. Run one by weighing the AP product, processing it to your kitchen's exact spec, weighing the waste, then computing EP and yield percentage. That single number corrects your portion cost, tightens your ordering, and exposes prep habits quietly eating your margin.
TL;DR:
- A yield test helps calculate true food costs by measuring edible portions and waste, improving portion accuracy and reducing waste-driven margin loss.
- The procedure involves weighing raw ingredients, processing them as usual, weighing waste, and calculating yield percentages and EP costs using specific formulas.
- Regular yield testing on high-cost proteins first reveals significant cost differences, with a 70% tenderloin yield adding about 20% to protein costs.
- Maintaining consistent trimming techniques, calibrated scales, and proper waste routing can minimize yield loss and lower ingredient costs.
- Conducting yield tests consistently across multiple locations or suppliers provides data to negotiate better prices and enhances overall menu and inventory management.
Table of Contents
- Step-by-Step Yield Test Procedure You Can Run on Shift
- Calculations and Worked Examples: Turn Yield% Into EP Cost and APQ
- Recording and Documentation: A Minimal Yield-Test Sheet Spec
- Applying Yield Results to Recipe Costing, Ordering, and Menu Pricing
- Troubleshooting, Waste Reduction, and Recovering Value From Trim
- When to Scale Your Yield Testing Program (And When to Call for Backup)
- Get Help Turning Yield Data Into a Real Margin Program
- Sources
Step-by-Step Yield Test Procedure You Can Run on Shift
You don't need a lab to run a defensible yield test. You need a calibrated scale, a clean prep station, a printed or digital test sheet, and fifteen minutes of undistracted focus. Here's the sequence.
Before you start:
- Zero and check the scale against a known weight (a bag of sugar works fine).
- Pull the test sheet and pre-fill supplier, lot number, and date.
- Have separate containers ready for saleable product, fat/bone trim, and unusable waste.
- Wear the same PPE you'd use for normal prep, since this is a working batch, not a demo.
The procedure itself:
- Record AP weight and AP cost. Weigh the item exactly as it arrived from the supplier, then log the invoice cost per pound or unit. If the price fluctuates by lot, note the specific delivery date.
- Process to spec, separating by category. Cut, peel, portion, or cook the item exactly the way your kitchen does it every day, not a "cleaner than usual" demo version. Sort trim into labeled bins: fat, bone, skin, unusable scrap, and usable byproduct.
- Weigh the waste and compute the results. Weigh each trim category, then calculate EP as AP minus waste, and yield percentage as EP divided by AP, multiplied by 100.
Different categories behave differently, and your procedure should account for that. A meat cutting yield test on a whole primal separates fat, silverskin, and bone from usable muscle. A cooking loss test on a roast or braise weighs the product again after cooking, since moisture loss is a second yield hit on top of trimming. Produce peeling tests (potatoes, carrots, onions) usually run faster since there's one waste stream, not several. Canned or brined goods need the liquid drained and weighed separately. Skipping that step is one of the most common ways operators inflate a yield number without realizing it.
Calculations and Worked Examples: Turn Yield% Into EP Cost and APQ
Three formulas cover almost everything you need:
- EP = AP − waste
- Yield% = (EP ÷ AP) × 100
- Factor = 100 ÷ yield%, then EP cost = factor × AP cost (or, equivalently, AP cost ÷ yield%), a conversion laid out clearly in restaurant recipe and menu costing guides/02%3A_Menus_and_Recipes/2.04%3A_Recipe_and_Menu_Costing).
Tenderloin: 2.5 kg AP, 750 g trim (fat, silverskin, chain). EP = 1.75 kg. Yield% = 70%. Factor = 1.42. If AP cost is $18/kg, EP cost = $18 × 1.42 = roughly $25.56/kg.
Salmon: 5 kg AP whole fish, filleted and pin boned down to 3.4 kg raw EP (68% yield), then cooked to 2.9 kg (a further loss from moisture). Your recipe card should reflect the cooked yield if that's the weight hitting the plate, not just the raw fillet weight.
Potatoes: 10 kg AP, peeled and diced to 8.3 kg EP. Cheap product, but high volume means even a 5-point yield swing changes weekly cost meaningfully.
Statistic Callout: A tenderloin running at 70% yield instead of an assumed 85% adds roughly 20% to your true protein cost on every portion, before you've changed a single supplier or recipe.
To find APQ (as-purchased quantity), divide desired EP by yield percentage: APQ = EP needed ÷ (yield% ÷ 100). Watch for the pitfalls that quietly wreck these numbers: mixing pounds and ounces mid-calculation, forgetting to re-zero the scale between containers, weighing brine or packaging as if it were product, and letting portion specs drift between cooks so the "same" dish yields differently depending on who's on the line.
Recording and Documentation: A Minimal Yield-Test Sheet Spec
A yield-test sheet is only useful if every tester fills it out the same way. Build yours with these fields, in this order:
- Date and tester initials
- Item name, supplier, and lot number
- AP weight and unit, AP unit cost
- Processing spec (a one-line description or reference photo)
- Trim categories and individual weights
- EP weight, yield%, cost factor, EP cost per unit
Store completed sheets in a shared digital spreadsheet, organized by week, with a CSV export path into whatever inventory or analytics system you run. Keep at least a year of history so seasonal supplier swings are visible, and version your recipe cards every time a yield update changes the EP cost, so nobody's costing a dish off a stale number.
Applying Yield Results to Recipe Costing, Ordering, and Menu Pricing
The whole point of a yield test procedure is what happens after you run it. The number is useless sitting on a clipboard.
- Update every affected recipe card with the corrected EP cost and portion cost, then push that figure into your POS or inventory system.
- Calculate APQ from your production needs: APQ = EP desired ÷ (yield% ÷ 100). If a banquet needs 20 kg of trimmed tenderloin at 70% yield, you order roughly 28.6 kg AP.
- Build supplier benchmarks from repeated tests. When one supplier's lot yields consistently lower than another's, that's a negotiating point or a switch decision, not a shrug.
- Feed yield data into daily food-cost monitoring so theoretical and actual cost stay close. Recording actual yield at the point of production closes most of the gap between what a recipe card says a dish should cost and what it actually costs, which is exactly where month-end surprises come from.
Yield data belongs in your menu pricing conversations too, since a dish priced against an optimistic yield assumption is quietly underpriced from the day it launches. Inventory platforms that track yield percentage alongside on-hand counts make this loop far less manual once you're running more than a handful of tests a month.
Troubleshooting, Waste Reduction, and Recovering Value From Trim
Before you blame the ingredient, check your process. Verify the scale is calibrated, confirm the trim spec matches what's on file, and run a same-day repeat test if a number looks off. Compare across supplier lots before assuming your kitchen's technique is the problem.
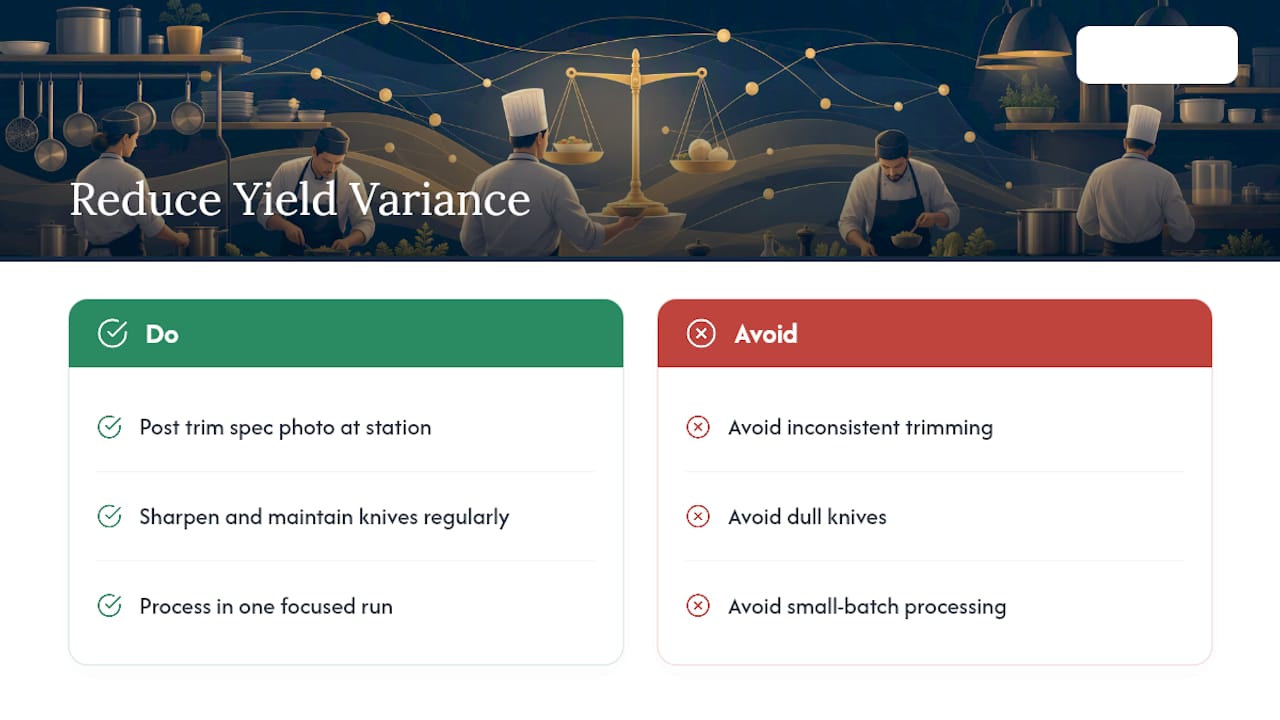
Most yield loss beyond the ingredient itself comes down to three fixable habits: inconsistent trimming between cooks, dull knives forcing extra passes, and processing small batches instead of one focused run. A quick photo of the "correct" trim spec taped at the station solves more variance than any amount of verbal reminding.
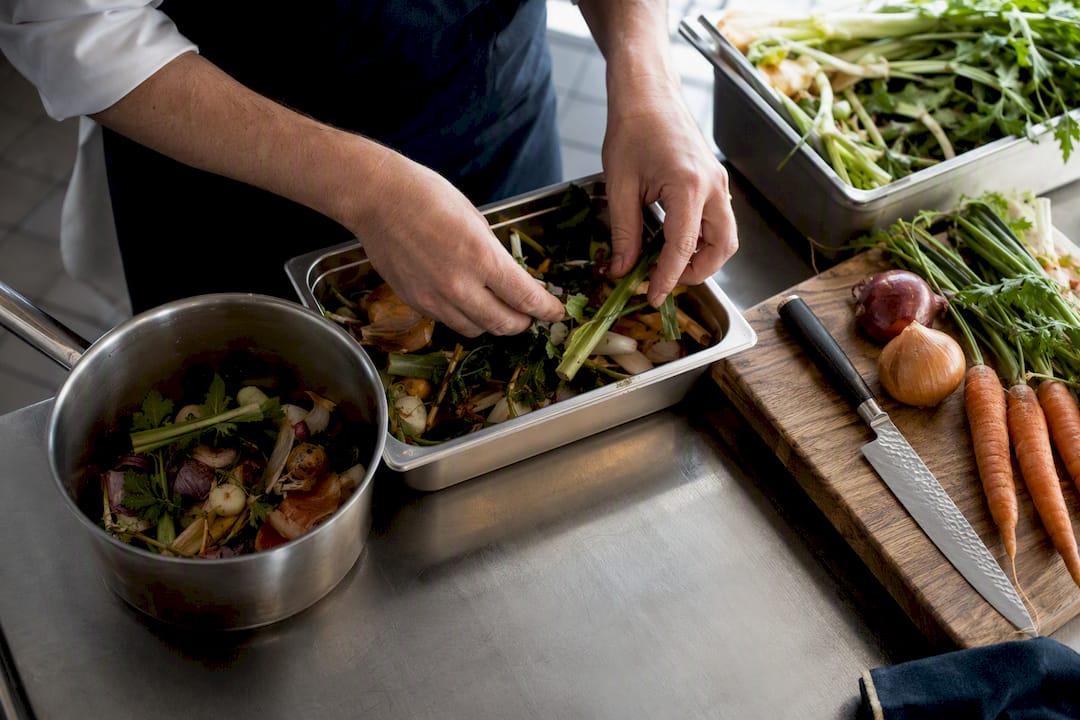
Trim isn't automatically waste. Bones and cartilage become stock, vegetable trim becomes soup base, and controlled routing of usable scraps can meaningfully reduce your effective food cost instead of hitting the trash.
Pro Tip: Test your highest-cost protein first. A five-point yield error on a $30/kg tenderloin costs you far more, far faster, than the same error on potatoes.
When to Scale Your Yield Testing Program (And When to Call for Backup)
A single-unit kitchen can run yield tests informally. The math changes at multiple locations, when onboarding a new supplier, ahead of a menu launch, or when stabilizing operations after a turnaround. That's when inconsistent recipe execution starts costing real money across shifts you can't personally watch.
Certain hospitality consulting firms have run this exact audit and standardization work inside client kitchens: verifying specs, training teams on consistent trim, and building dashboards that catch yield drift before it hits your P&L, as explained in Corporate Travel Terminology Explained for Hospitality Vendors.
— Chris
Get Help Turning Yield Data Into a Real Margin Program
Running one yield test is easy. Running a consistent program across every high-cost item, every supplier, and every shift is where most kitchens fall behind, and some hospitality consulting firms step in as operating partners instead of offering another software subscription you have to babysit. We build the recipe standardization and training programs that keep trim specs consistent across cooks, and our analytics and reporting platform ingests your yield-test data directly, flagging supplier drift and cost variance before it shows up in a bad month-end report. For kitchens in transition, our task force teams can run a full yield audit alongside your staff and leave you with a working system, not just a binder. If you're opening, standardizing across locations, or trying to stop guessing why theoretical and actual cost never match, reach out to Wits' End Solutions to scope a yield-test audit for your kitchen.
Sources
- Yield Testing – Basic Kitchen and Food Service Management
- Yield Costing for Restaurants: Why Static Recipe Costs Overstate Your Margins
- How to Use Food Yield Percentage | MarketMan